



Nepal Trekking Packing List 2026: What You Actually Need, by Season and Altitude
A teahouse trekking packing guide for Nepal, organised by season and elevation band, with the layering logic, daypack and porter-duffel split, and a full what-to-leave-behind section. Status-dated where conditions change.

Last updated: 6 October 2026
Search for a Nepal packing list and you will mostly find lists written for camping treks or lodge-supported trips, where a truck carries the kit and someone else cooks. Teahouse trekking is a different animal. You sleep in a family-run lodge, eat in a dining room, and carry everything else on your own back between villages.
So this isn't a list of fifty items. It's the reasoning behind the decisions, organised by season and elevation band, plus the part almost nobody writes about: what to leave at home.
Teahouse trekking changes the list more than any gear choice
A teahouse gives you a bed, meals, and a dining room that gets heated in the evening at higher villages. What it does not reliably give you is a warm bedroom, drying space, or much privacy. That single fact reshapes your pack: you need far less shelter and cooking gear than a camping list assumes, and more of what keeps you comfortable in a cold room at altitude. Blankets are usually provided, though how warm they are varies by village, season and how full the lodge is.
The layering system, in plain terms
Base layer against the skin, a mid layer for movement, an insulating layer for stops and cold mornings, and a shell for wind and rain. Layering beats one heavy jacket because the temperature swing across a single trekking day is bigger than any one garment copes with: a shaded start before sunrise, a hot climb, an exposed and windy pass, then a heated dining room at night. You add and remove. Pack so that adding and removing takes seconds, not a stop where you unpack the whole bag.
Season by altitude: what changes, and what follows
Autumn (roughly October to November)
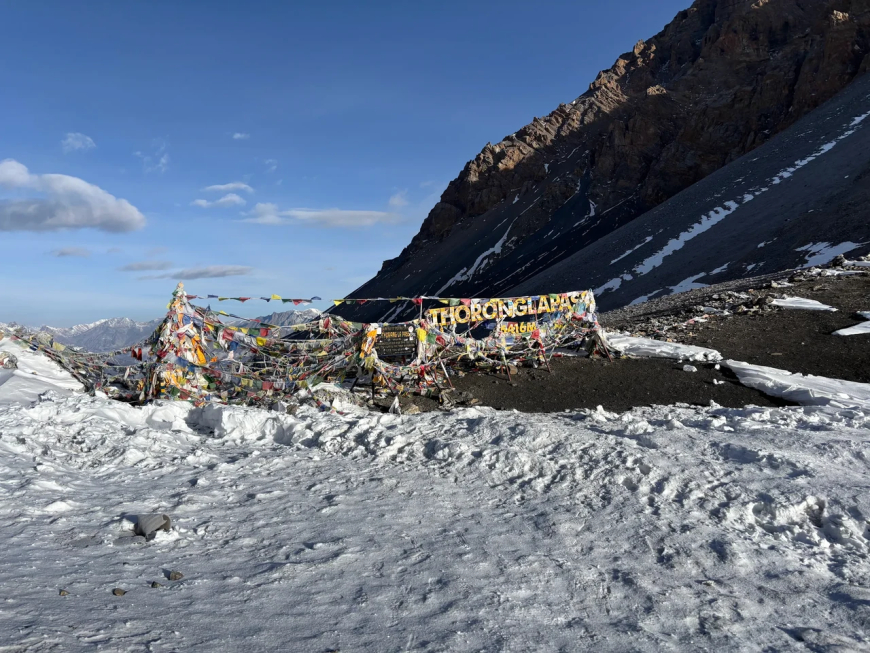
The most popular window, and the one where trails and lodges are busiest. Low hill country is warm by day and mild at night. Mid-elevation villages such as Ghorepani, Namche and Manang see cold mornings, sunny afternoons and cold nights. High passes and everything above the main villages are exposed and windy, with snow possible at any point in the season.
What follows: this is when a proper insulating layer and a windproof shell earn their place. Keep a hat and gloves accessible all day rather than buried, and plan on a dry spare base layer for the evening.
Winter (December to February)
Quiet trails, clear skies, serious cold. Lower routes stay walkable; high passes can be snowed in and some high teahouses close for the season, so confirm the route with your operator and lodges rather than assuming it is open.
What follows: heavier insulation, an extra base layer, and accepting that your packed weight goes up. This is also the season where a sleeping bag stops being optional in the higher villages.
Spring (March to May)
Warming up, hazy skies, rhododendron lower down, and snow still sitting on the high passes early in the season. Dust and sun become real factors on the popular routes.
What follows: fewer insulating layers, more attention to sun and dust protection, and earlier starts to use the cool hours.
Monsoon (June to September)
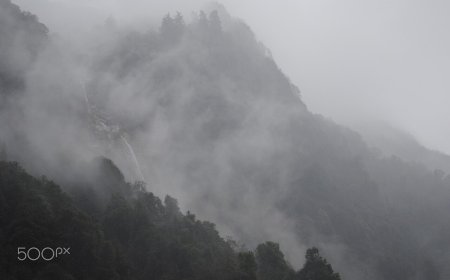
Rain, cloud, slippery trails, leeches in the lower forest, and unstable ground on landslide-prone sections. Rain-shadow areas such as Upper Mustang, Nar Phu and parts of Manang behave very differently from the rest of the country in this season, which is why they are trekked at all in July.
What follows: serious waterproofing, dry bags inside your pack, and a genuinely dry spare layer kept aside for the evening. One soaked base layer can end a day early.
Daypack versus duffel, and the weight you actually carry
On a porter-supported teahouse trek, your duffel moves between lodges and you carry a daypack with water, layers, rain shell, snacks, documents and valuables. Size the daypack around a full day's layers plus water rather than around how little you can get away with, because you will be wearing the extra layer at some point.
Porter duffel weight limits are set by the operator, not by a universal rule, so confirm the limit in writing before departure instead of packing to a number you read somewhere. Wear your bulkiest mid layer and your boots on the domestic flight and keep a light change of clothes for the plane separate from your trekking kit. That one habit buys back real space.
What to leave behind
This section matters more than the gear list. Domestic flights to Lukla and Pokhara have baggage allowances that make every extra kilo expensive, and you are the one carrying your daypack up the hill.
Leave the second pair of trousers, the heavy camp shoes, the large towel and the stack of books. Take a liner rather than a full sleeping bag in autumn and spring, and only add the bag for winter or high-altitude routes. Skip the expedition medical kit and carry your personal medications. Cotton anything is a poor choice for a trek where you may not be able to dry clothes overnight.
Gear you genuinely use once can be rented in Kathmandu or Pokhara. Availability and what is in stock vary by item and by season, and that position was checked on 6 October 2026 rather than being permanent, so treat it as a point in time and check again before you fly.
Water, cash and the practical bits
Purify your own water rather than buying bottled water along the route. Tablets, a filter or a UV device all work; which one suits you depends on how much you mind the taste and the waiting. Teahouses commonly charge for boiled drinking water and for hot showers, and those charges vary by village, season and altitude. Any figure you read online is a snapshot, not a rule.
ATMs on trekking routes are thin and intermittent, and reliability changes from year to year. Carry enough cash for the whole trek plus a buffer, and treat the ATM situation as something to re-check shortly before departure. That position was also checked on 6 October 2026.
Rent or buy, and boots or trail runners
No verdicts here, because the answer depends on you. Rent if you trek once every few years and don't want a cupboard full of gear. Buy if you'll use it repeatedly and want a known fit. Weigh rental cost against purchase cost, how many treks you realistically do, and whether you trust borrowed footwear on a long descent.
On boots versus trail runners, the criteria are terrain, how heavy your load is, your ankle history, how much you trek each year, and how much space and weight you're willing to give up. Some people want the ankle support on rough ground; others want the lighter shoe. Both work for people who choose deliberately.
Two things this article deliberately doesn't cover
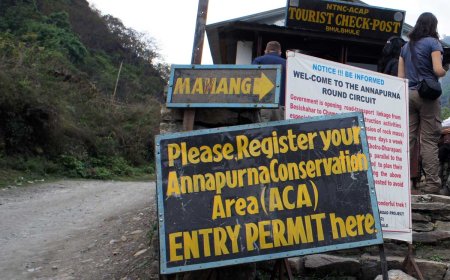
Permits are required for these routes, and the rules, fees and paperwork change. They are not covered here at all, so use a dedicated, current permits guide before you travel rather than a packing article.
Altitude illness is a medical subject, and this page will not give you dosing, symptom lists or turnaround advice. Speak to a travel medicine professional before departure and follow your operator's guidance on the route. If you want a proper briefing, get it from a medical source, not from a gear list.
Availability of rental gear, ATM reliability and teahouse charging practice were all checked on 6 October 2026. All three change, so verify shortly before you travel.
What's Your Reaction?